Does your bike chain skip when you shit or produce a clicking sound? How about the gear shifting? Is it slow or a little hesitant?
Those indicate a problem with your MTB’s rear derailleur, and the solution is to replace it. Generally, here’s how to install a rear derailleur on a mountain bike:
First, disconnect the shit cable and detach the chain before unthreading your old/worn-out rear derailleur from its hanger. Then, mount the new derailleur and bolt it in place before returning the shift cable and the chain as they were.
You probably don’t know if your rear derailleur needs replacing. In that case, I’ll take you through the signs to watch out for. I’ll also recommend a few MTB rear derailleurs that you can consider for the DIY project.
But before that, let’s explain the process of replacing a rear derailleur in detail.

How To Install A Rear Derailleur On A Mountain Bike in 4 Steps
Here are four vital steps for replacing your MTB’s rear derailleur.
Step 1 – Gather Essential Tools
Essentially, these tools are worth having when replacing your MTB’s rear derailleur.
- Philip screwdriver – You need this screwdriver to unfasten and fasten the rear derailleur during the installation. You can consider the Best Choice 9-Piece Screwdriver Set, which features nine corrosion-resistant, precisely-machined, and high-strength steel screwdrivers.
- Hex/Allen keys – You’ll also need a set of Allen keys for driving in screws and bolts. Just ensure you have several hex keys to have an easy time adjusting the derailleur’s limit screws.
- Bike Stand – You need a bike repair stand as your work stand to help you detach and fit the rear derailleur with ease. One fantastic choice that works both for MTBs and road bikes is the Bikehand Bike Repair Stand (View on Amazon). Its height is adjustable to hold just about any bike size not heavier than 50 pounds.
Step 2 – Remove the Old (Worn-Out) Mountain Bike Rear Derailleur
Follow these steps to dismount your old derailleur:
- Mount your MTB on a bike stand and then shift the chain gently into the smallest rear sprocket.
- Pull off the end cap to disconnect the shift cable from your rear derailleur.
- Locate the master link (which is a quick-release link) and open it to detach the chain from the rear derailleur.
- If your chain lacks a master link, then you’ll require a chain tool in this step. If so, then consider the Park Tool CT-5, which is compatible with 5-12-speed bike chains.
- Lastly, unthread (anticlockwise) the old derailleur from its hanger before moving to the next step.
Step 3 – Fit the New Mountain Bike Rear Derailleur
Before you can mount your new derailleur, inspect your present derailleur hanger to ensure it’s not damaged. Upon confirming that it’s okay, follow these steps for installing rear derailleur:
- Mount the new derailleur and bolt it tightly in place.
- Once you do, return the chain to its position. You can, however, lubricate it using a lubricant like WD-40 Specialist Bike Chain Lube to prevent friction and rusting.
- Also, return the shift cable to its original position.
- Lastly, tighten the anchoring bolts to ensure you flatten the shift cable.
That’s it! You just replaced your rear derailleur, and you are only one step away from doing it like a real pro.
Step 4 – Adjust the Newly-Fitted Rear Derailleur
You want your newly-fitted derailleur to work effectively, and so this step is crucial.
You’ve to adjust the limit screws (H & L screws) to restrict the directional movement of the rear derailleur.
Once you achieve that, you prevent the chain from getting thrown off the bike cassette.
Here’s how to go about it:
- Turn the high-limit screw (H-screw) clockwise using an Allen key to limit the derailleur when on the highest gear (or smallest cog) and vice versa. You can get the EKLIND 10111 Hex-L Key Allen Wrench Set if you are looking for quality and handy Allen keys.
- Adjust the low-limit screw (L-screw) the same way. So, turn it clockwise to move the rear derailleur into the smallest cog and then vice versa.
Signs Your MTB’s Rear Derailleur Needs Replacing
Since we are talking about how you can replace rear derailleur, how do you know it’s time to do it?
Well, watch out for these signs:
- The chain keeps falling off
- The chain is out of alignment
- Your derailleur is clogged with debris
- The derailleur cage rubs against the crank arm
In addition to the above signs, you should also watch out for a broken rear derailleur. Note that your MTB’s rear derailleur can break due to any of these reasons:
- Over-shifting – If you over-shift into the bike spokes, the rear derailleur can stretch beyond the biggest cog, causing it to break.
- Bent hanger – A derailleur hanger can bed from a heavy hit or fall, more so a crash, and when it happens, the rear derailleur is likely to break.
- Low-quality derailleur – If the material that makes up the rear derailleur is cheap or just defective, the rear derailleur can break.
- Worn-out derailleur – Derailleurs have a lifespan, and once they serve you for a couple of years, they wear and break. If that’s the case, only a replacement will do.
Looking for the Best Mountain Bike Rear Derailleur? Consider These Two
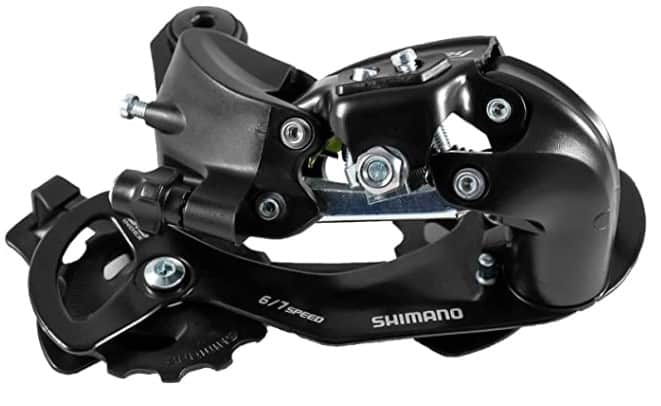
1. Inkesky Rear Derailleur RD-TZ31-A
The Inkesky Rear Derailleur RD-TZ31-A is a direct-mount derailleur for any mountain bike with a 6-speed or 7-speed chain.
The fact that it’s a direct-mount means its installation is not complicated.
This best-seller has a 34T capacity and comes with an anchoring bolt to allow you to fit it easily.
It’s compatible with Shimano drivetrain components, making it a fantastic choice for most MTBs.
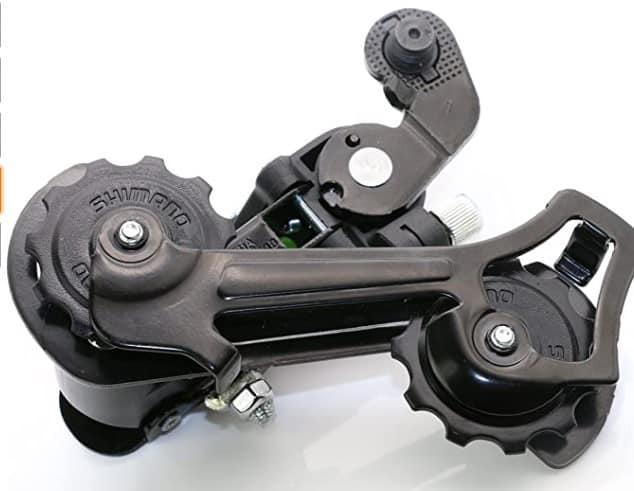
2. Inkesky 7/8/9 Speed Bike Rear Derailleur
The Inkesky 7/8/9 Speed Bike Rear Derailleur is another direct-mount rear derailleur for your MTB. It’s compatible with 7-speed, 8-speed, and 9-speed chains and Shimano components like its counterpart above.
So, if you plan to upgrade to a 9-speed in the future, you won’t need to replace the derailleur.
Overall, this derailleur promises smooth shifting and comes with a 45T capacity. The best part is that it comes with installation wrenches and a guide to help you fit it easily.
Check out other impressive MTB rear derailleurs here.
Rear Derailleur Installation FAQs
1. How Much Does It Cost To Replace A Rear Derailleur?
If you replace the rear derailleur yourself, you’ll spend about $20-$30 on a new derailleur. If you have the tools for the job, especially hex keys, screwdrivers, and bike stand, you won’t incur any other cost.
However, if you choose to take the bike to a bike repair shop, then the rear derailleur installation will cost you an additional $50-$100or more, depending on location.
2. Is It Easy To Replace A Rear Derailleur?
Contrary to most perceptions, replacing a rear derailleur is easier than you think. You only need to remove the chain and shift-cable to allow you to pull out your old derailleur from its hanger.
After that, you’ll need to mount the new derailleur, bolt it in place, and then return the chain and shift cable as they were. That’s it!
3. Will Any Derailleur Fit On My Bike?
Derailleurs are bike-specific. If you have a mountain bike, for example, then you have to get a mountain bike derailleur.
In addition to that, your replacement derailleur should match the specs of your original derailleur.
While the model doesn’t necessarily have to match between the new and the old derailleur, the brand should.
4. Are Bike Derailleurs Universal?
When it comes to drivetrain components, the rule of thumb is that you shouldn’t mix them. If you do, then your drivetrain may fail to work.
So, no, there is nothing like a universal derailleur. You’ve to get a derailleur that matches your bike and drivetrain.
5. When Should I Replace My Derailleur?
Generally, you should replace your derailleur if:
- It breaks or shows signs of wear
- The chain keeps skipping or producing a clicking sound
- The shifting is slow and sometimes stiff
Relevant:
Closing Thoughts:
Knowing how to install a rear derailleur on a mountain bike can go a long way in saving you time and cash. So, why don’t you try it?
After all, all you need are the right tools and a new quality rear derailleur. Plus, you’ve my DIY guide above that should be easy to follow.