Learning how to put on training wheels, otherwise known as stabilizers, on a bike is easier than most parents assume it to be. These attachments are probably the easiest accessories to attach to a cycle.
Once you have the right training wheels, here’s a summary of how to install them on a bike:
- Insert a bolt through the training wheel and then through the washer and the training wheel arm.
- Attach and then tighten the nut and washer before detaching the rear axle from the bike’s wheel axle.
- Insert the detached rear axle and fix its raised points on the bike frame.
- Adjust the stabilizer’s height to about 0.5 inches and tighten the axle nut.
I’m going to explain all these steps in detail later. Hopefully, that will help you fit your newly-bought stabilizers on your kid’s bike.
Don’t worry if you don’t have training wheels with you or you don’t know what to get, as I’ll recommend a few decent options.
Let’s begin!
How to Put On Training Wheels in 4 Steps
Generally, these steps are critical in installing stabilizers on a bike.
Step 1 – Prepare the Installation Supplies
For starters, you should ensure you have all the installation hardware. That includes the following:
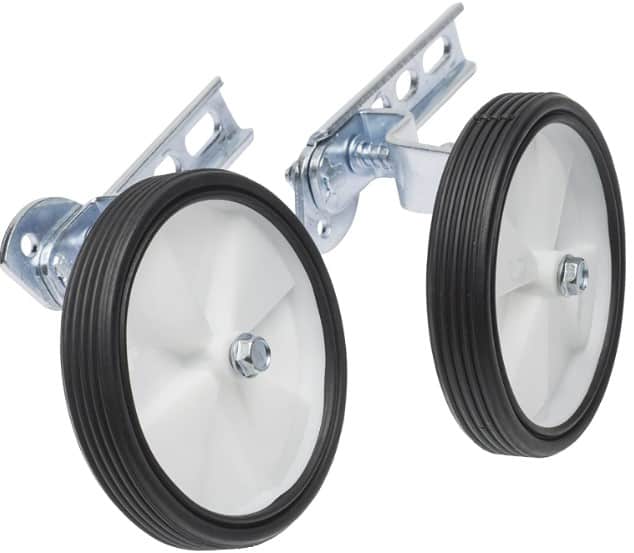
- Training wheels
- Vertical brackets
- Shoulder bolts
- Washers
- Nuts
- Bracket brace plates
Ideally, your stabilizers should come with all the other pieces of hardware. So, confirm if they are present first.
In case you don’t have trainer wheels with you, click here to check out the best bike training wheels.
In addition to the above installation supplies, you should also have a regular wrench and an adjustable wrench.
Consider the Channellock 8WCB WideAzz if you want a versatile adjustable wrench for most of your DIY projects.
Step 2 – Check Tire Pressure
You’ve to check the tire pressure before you can mount the stabilizers. That’s because you need the tires to be strong and supportive when installing training wheels.
Step 3 – Assemble the Installation Hardware
Now that you know what hardware you need for the installation, it’s time you knit the pieces.
Insert a bolt through one stabilizer and then through the washer and later the stabilizer arm.
After that, attach another nut and washer and then tighten them properly using two wrenches (regular wrench and adjustable wrench).
Later, detach the rear axle from the bike’s wheel axle and insert it (the detached rear axle) through the locking brace.
After that, you can move to the last step.
Note, however, that some stabilizers come with pre-assembled hardware, which means you can skip this step.
Step 4 – Attach Your Training Wheels
It’s time you fix the raised points on the ends of the bike’s frame. While at it, adjust the stabilizer’s height to about 0.5-1 inches off the ground.
Once you attain the correct elevation, tighten the axle nut tightly using the adjustable wrench.
That’s how to put training wheels on a bike.
Why Should Install Training Wheels on A Bike?
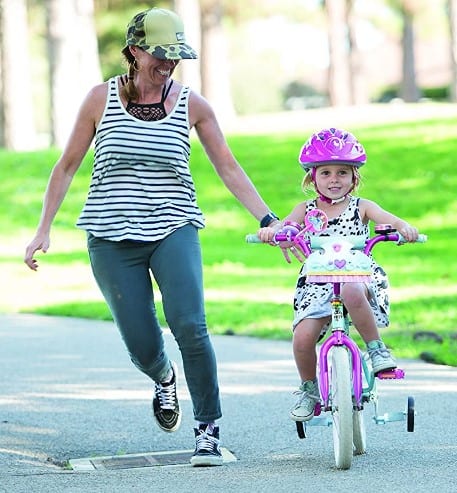
Training wheels or stabilizers essentially offer your kid stability to allow them to balance and pedal a bike more comfortably.
They reduce the risk of falling off a bike while allowing the young rider to become more confident outdoors.
In that case, you don’t have to be there holding the bike as you normally would in the absence of trainer wheels.
Can I Put On Training Wheels On Any Bike?
Trainer wheels come in a variety of sizes to fit on virtually all bikes. We’ve stabilizers for kids’ bikes with a wheel size of 12 -24 inches, meaning they cover all kids’ bikes.
But still, there a few other adult stabilizers.
The secret is to ensure you match the training wheels with the bike size. If your kid’s bike is a size 20, you have to find stabilizers designed for 20-inch bikes.
You also have to master how to install training wheels to ensure you fit them appropriately.
How High Should Training Wheels Be Fitted?
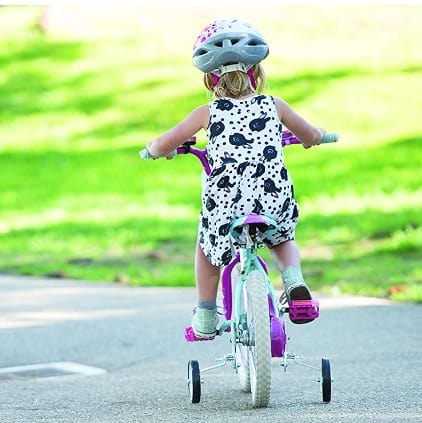
Trainer wheels are supposed to offer stability to the rider. So, they need to be slightly close to the ground but not touching the surface.
Ideally, stabilizers should be 0.5-1 inch off the ground. That’s a good ground clearance for any kid to learn to balance on a pedal bike.
When Should I Remove Stabilizers From A Bike?
Essentially, attaching training wheels on a kid’s bike helps them learn to balance and pedal. So, once you accomplish that, you can remove the stabilizers.
Often, most kids learn to balance without trainer wheels at 4-5 years while others take up to 9. So, observe your kids, and once you feel they are comfortable balancing on the bike, you can remove the wheels.

Can I Put Stabilizers On A Geared Bike?
As I mentioned, you can put trainer wheels on any bike, and that includes geared bikes. You only need to find stabilizers that match your target bike.
However, what you should be asking is, ‘should I put trainer wheels on a geared bike?’
Since it takes time to learn to use bike gears, some beginners may find it overwhelming to multitask (learning to balance and using the bike gears simultaneously).
How Do I Adjust Training Wheels?
After first putting on training wheels, you may realize that they are either touching the ground or too high. In such a case, you’ve to adjust them accordingly to ensure they are slightly off the ground.
You only need to unscrew the trainer wheels and reposition them as they should, ½-1 inches off the ground, before screwing them back.
So, you’ll need a wrench for the job just like you’ll need it to attach them.
In general, maintaining a ½-1 inch ground clearance will ensure that your kid feels comfortable and balances on the bike.
What Are The Best Training Wheels?
Given that trainer wheels come in varying sizes to suit different bikes, it’s unfair to claim that a specific pair is the best overall. So, you have to find an option that matches your wheel size.
Overall, I recommend these three great stabilizers.
1. Bell Spotter Trainer Wheels – Best for 12-18 Inch Wheels
The Bell Spotter Trainer Wheels come in heavy-duty construction to bear up to 50 pounds. So, they are a good choice for heavier kids.
The trainer wheels suit a variety of kid’s bikes, ranging from size 12 to 18.
Once fitted, these trainer wheels are about ½ inches off the ground to offer your kid optimal stability.
They are reasonably lightweight, given that they weigh 2.3 pounds. What’s more, they are easy to install, something you want when buying training wheels for the first time.
Best Features
- Suits 12-18-inch kids’ bikes
- Heavy-duty construction
- 50-pound load capacity
- ½-inch ground clearance
- Lightweight (2.3 pounds)
2. M-Wave Bicycle Training Wheels – Best for 12-20 Inch Wheels
The M-Wave Bicycle Training Wheels are other excellent bike stabilizers for kids. They suit 12-20-inch kids’ bicycles and come with all installation hardware for easy fitting.
These training wheels for kids bicycle weigh 1 pound but can hold up to 100 pounds. That’s mainly due to their hard-plastic construction.
The best part is that they come with an anti-turn bracket that ensures they don’t turn when your kid is cycling. Thus, they are pretty safe.
Best Features
- Suits 12-20-inch kids’ bikes
- Hard-plastic construction
- All installation hardware
- Lightweight (1 pound)
- 100-pound load capacity
- Anti-turn bracket
3. HUWAY Training Wheels – Best for 12-20 Inch Wheels
The HUWAY Training Wheels are a fantastic alternative to the M-Wave Trainer Wheels. Like M-wave Training Wheels, HUWAY Training Wheels suit bikes with a 12-20 inch wheel size.
These stabilizers are made of hard plastic and rubber and feature a steel arm. So, they are genuinely strong to take on the rugged outdoors.
Overall, the stabilizers are easy to fit, thus great for fast-timers.
Best Features
- Suits 12-20-inch kids’ bikes
- Hard-plastic and rubber construction
- Steel arm
- Easy-to-fit design
Relevant:
In Conclusion
Now you know how to put on training wheels on a bike. You can follow the simple steps to attach stabilizers on your kid’s bike to encourage them to learn to balance and pedal.